ITOUCH RELIEF · BLOG
TENS Pad Placement: A Safer Starting Guide
Understand TENS electrode placement, common mistakes, areas to avoid, and what to ask before using pads for back, shoulder or knee pain.
The short answer
Pad placement depends on the painful area, your health and the exact device. Use the model’s instructions and a clinician’s guidance. Switch the unit off before moving pads; do not improvise a placement from a social-media photo. University of Iowa Health Care: información sobre TENS
Start with the right question
“Where should I put the pads?” needs more context than a body-part name. Describe the location, whether the discomfort travels, any altered sensation, and the diagnosis if you have one. Ask a clinician whether TENS is appropriate before requesting a placement plan.
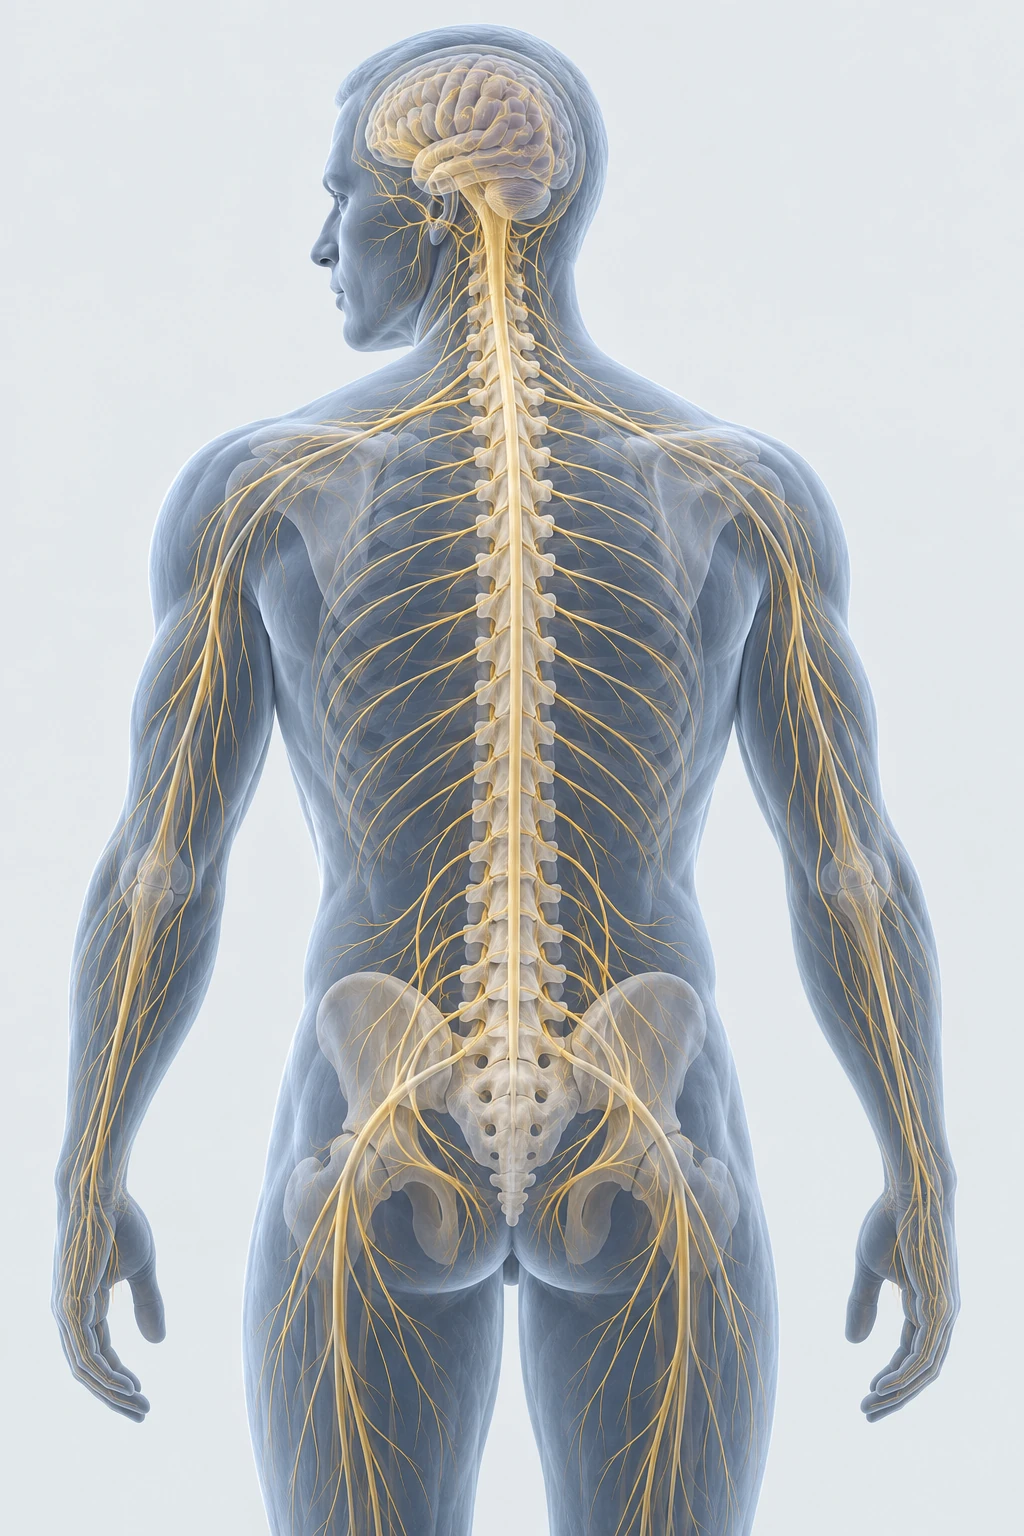
For back pain, identify the difference between local back discomfort and symptoms extending into a leg. For shoulder symptoms, clarify the exact region instead of treating the neck and shoulder as the same area. For knee pain, ask which surrounding skin areas your plan permits.
Placement principles to confirm
Clinical patient instructions describe applying electrodes to clean, dry skin with separation between pads. Pads should not touch each other. Keep them away from damaged skin and areas without normal sensation. Do not put pads across the chest, on the head or face, or on the neck. University of Iowa Health Care: información sobre TENS NHS: TENS uses and safety
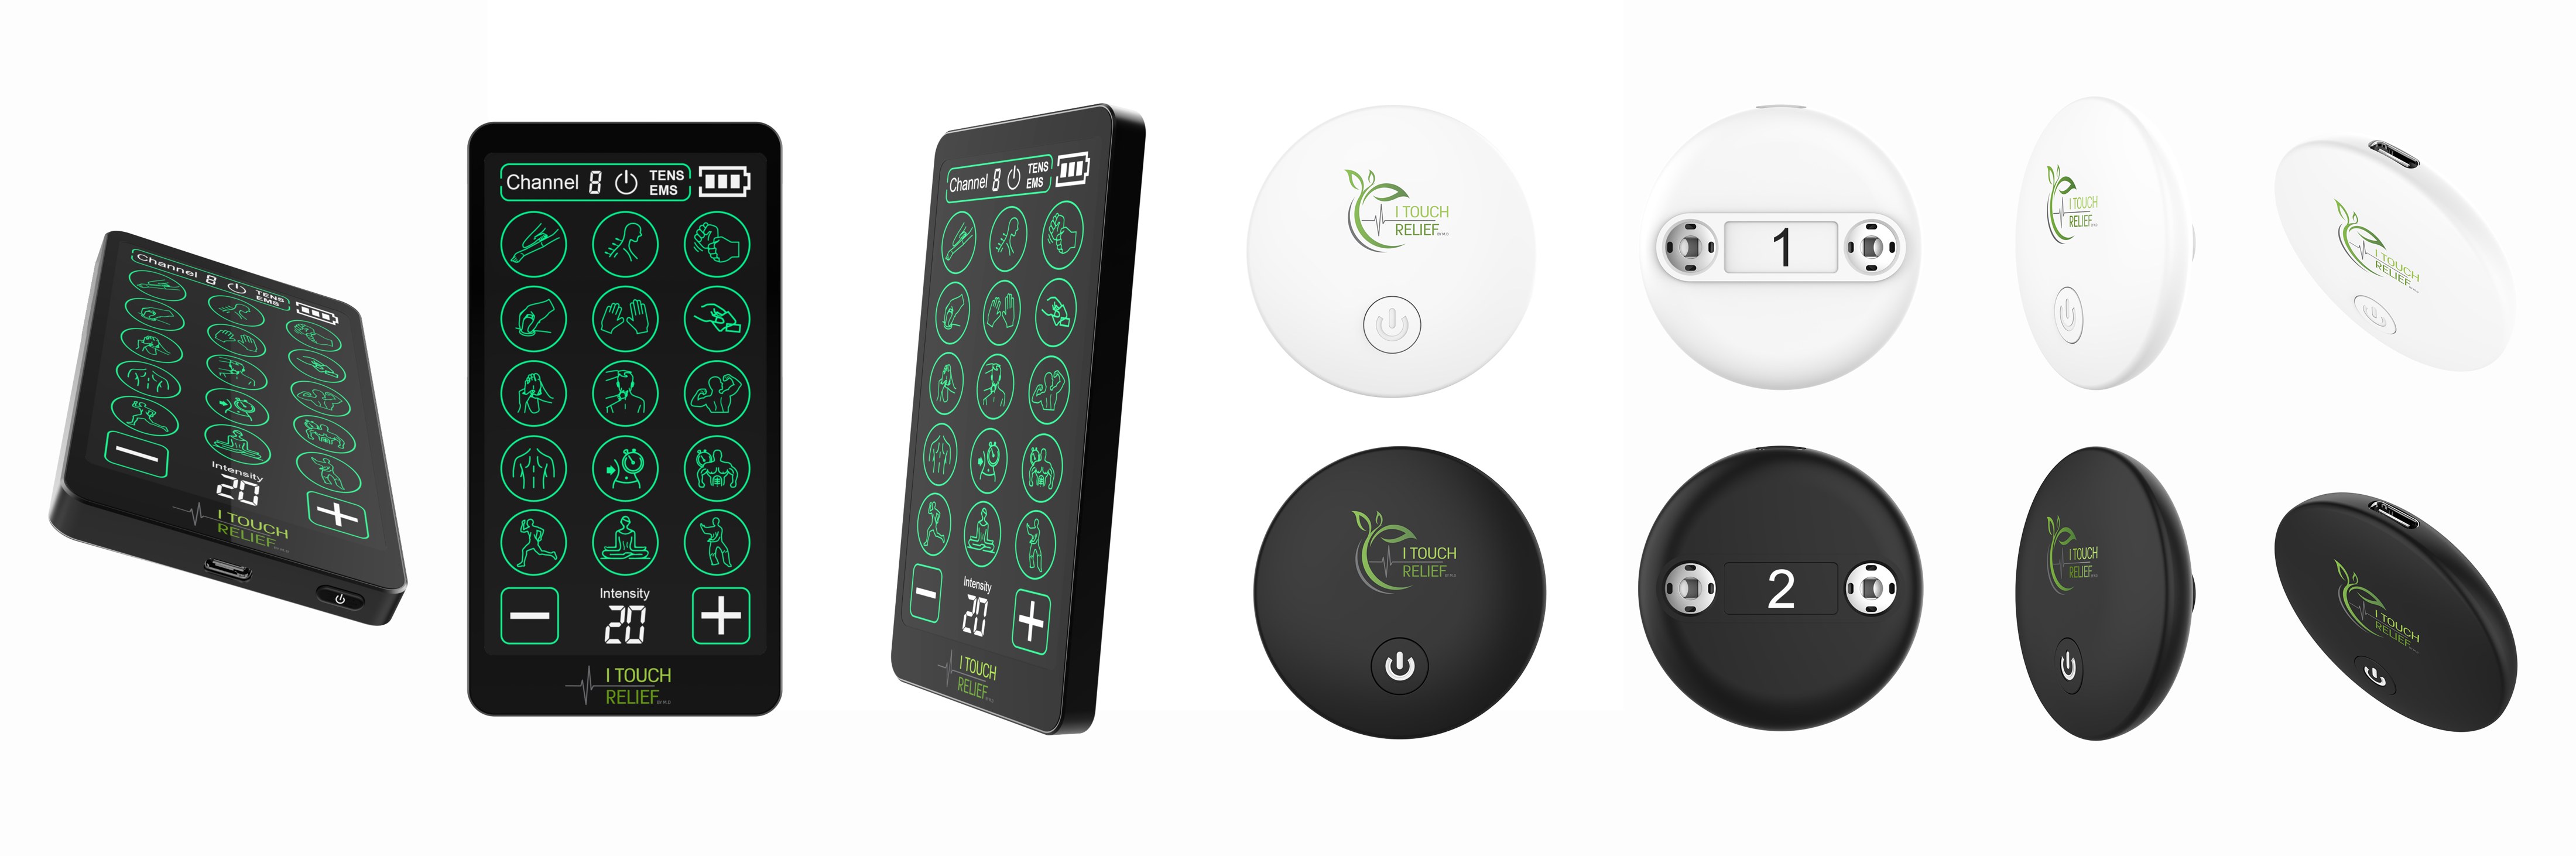
Use the number of pads, channel connections and spacing specified for your model. A diagram for a four-pad wired unit may not apply to a single wireless pad assembly. Ask for a demonstration if the connection pattern is unclear.
A setup checklist you can keep
- Locate the placement diagram in your own manual.
- Confirm with your clinician that it fits your situation.
- Check that your electrodes are the specified type and size.
- Identify the off switch before attaching or repositioning anything.
- Keep the manual available during setup.
After a demonstration, draw the approved arrangement on a blank body outline and label which pads belong to each channel. Ask the professional to check your drawing. This creates a personal reference without borrowing another person’s treatment plan.
Common mistakes to avoid
Do not assume that the most painful point is automatically the correct electrode location. Do not copy a neck placement simply because someone describes their problem as “shoulder tension.” Avoid interpreting a stronger sensation as evidence of more accurate placement.
If the pads are difficult to place without help, discuss a workable approach before buying accessories. If an electrode will not stay in contact, review pad care instead of continuing with a partially detached pad.
Frequently asked questions
Can I move the electrodes with the device on?
Turn the unit off before repositioning or removing electrodes. University of Iowa Health Care: información sobre TENS
Is there one placement chart for everyone?
No. A general illustration cannot account for your diagnosis, skin condition and device design. Use a plan that applies to you.
Should I use TENS for sciatica?
Read the sciatica evidence guide first. Popularity of a placement diagram does not establish that TENS is recommended for the condition.
Sources and further reading
Sources checked September 21, 2026. Educational information from ITouch Relief; it does not replace medical assessment or the manufacturer’s instructions.